September 10, 2025
Step-by-Step Process for Casting Resin Typewriter Keycaps
Introduction to Resin Casting and Typewriter Keycaps
Resin casting is a versatile and creative process that allows artisans to produce intricate and customized items, such as typewriter keycaps. These keycaps can be used to enhance the aesthetic appeal of mechanical keyboards, blending vintage charm with modern functionality. The process involves creating a mold, preparing the resin, and carefully casting the keycaps to achieve a flawless finish. This guide will walk you through each step, ensuring you have the knowledge and confidence to create your own resin typewriter keycaps.
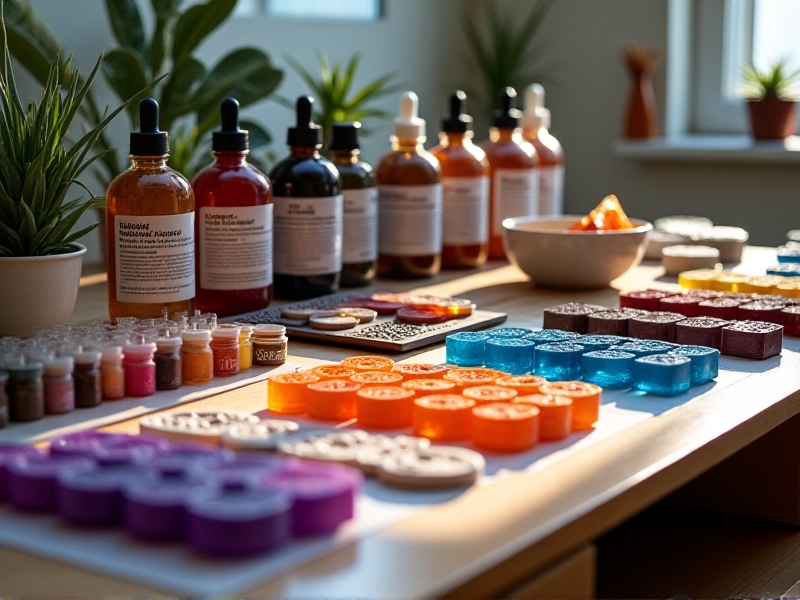
Gathering Materials and Tools
Before diving into the resin casting process, it’s essential to gather all the necessary materials and tools. You’ll need high-quality epoxy resin, silicone molds, pigments or dyes, a mixing container, stir sticks, a heat gun or torch for removing bubbles, and safety gear like gloves and a mask. Additionally, having a clean and organized workspace will make the process smoother and more enjoyable. Investing in quality materials ensures that your keycaps will be durable and visually stunning.
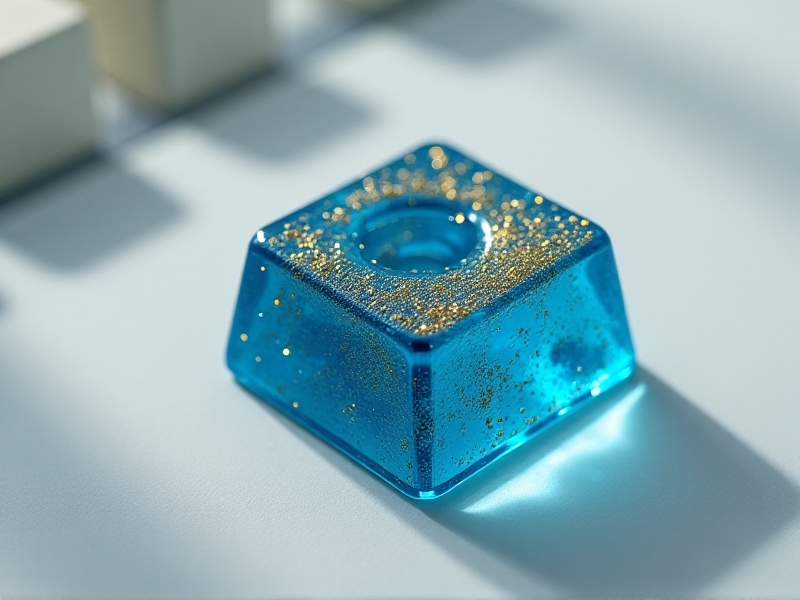
Designing Your Keycaps
Designing your typewriter keycaps is where your creativity truly shines. Consider the overall theme or color scheme you want to achieve. You can incorporate pigments, glitter, or even small decorative elements like dried flowers or metallic flakes into the resin. Sketching out your designs beforehand can help you visualize the final product and ensure consistency across multiple keycaps. Remember, the design phase is your opportunity to make each keycap unique and reflective of your personal style.
Preparing the Silicone Mold
The silicone mold is a critical component of the resin casting process. Ensure your mold is clean and free of dust or debris before use. If you’re creating a custom mold, follow the manufacturer’s instructions carefully to achieve the best results. Properly preparing the mold will help prevent imperfections in your keycaps and ensure a smooth release once the resin has cured. Taking the time to prepare your mold correctly will pay off in the quality of your finished keycaps.
Mixing and Pouring the Resin
Mixing the resin is a precise process that requires careful attention to detail. Follow the manufacturer’s instructions for the correct resin-to-hardener ratio, and mix thoroughly to avoid uncured spots. Once mixed, you can add pigments or other decorative elements to the resin. Pour the resin slowly into the mold, taking care to minimize air bubbles. Using a heat gun or torch, gently remove any bubbles that form on the surface. Proper mixing and pouring are essential for achieving a clear, professional finish.
Curing and Demolding the Keycaps
After pouring the resin, allow it to cure according to the manufacturer’s recommended time. Curing times can vary depending on the type of resin and environmental conditions. Once fully cured, carefully demold the keycaps by gently flexing the silicone mold. Inspect each keycap for any imperfections, and sand or polish as needed to achieve a smooth finish. Patience during the curing and demolding process ensures that your keycaps are durable and ready for use.
Finishing Touches and Quality Control
The final step in creating resin typewriter keycaps is applying any finishing touches and conducting quality control. This may include sanding rough edges, polishing the surface to a high shine, or adding a protective coating. Inspect each keycap for consistency in color, clarity, and fit. Taking the time to perfect these details ensures that your keycaps are not only beautiful but also functional and long-lasting. Your attention to detail will be evident in the final product.
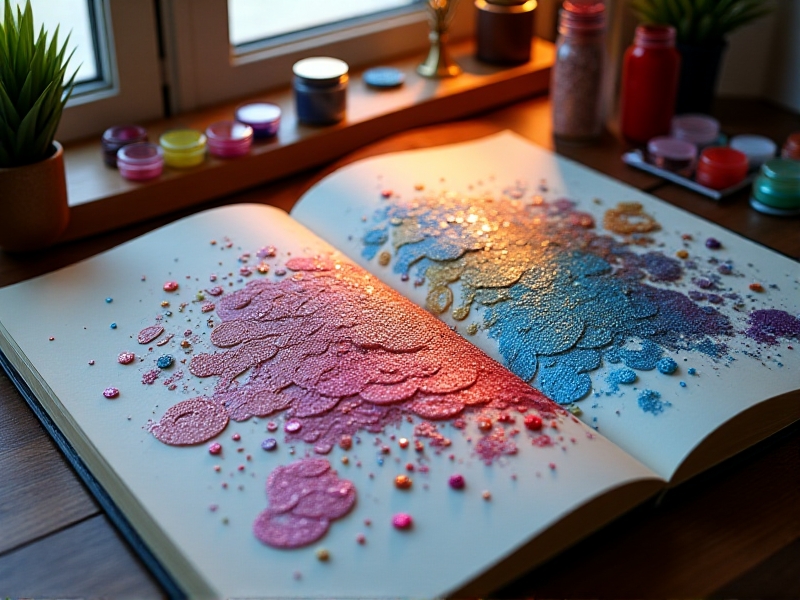
Creative Applications and Customization
Resin typewriter keycaps offer endless opportunities for customization and creative expression. Consider experimenting with different colors, textures, and embedded elements to create unique designs. You can also personalize keycaps with initials, symbols, or themes that reflect your interests. These custom keycaps make excellent gifts or can be sold as part of a handmade business. The possibilities are limited only by your imagination, so don’t be afraid to push the boundaries and explore new techniques.
Troubleshooting Common Issues
Even with careful preparation, you may encounter some common issues during the resin casting process. Bubbles, uneven curing, or sticky surfaces can occur, but they are often fixable with the right techniques. For example, using a heat gun can help eliminate bubbles, and ensuring a consistent temperature can prevent uneven curing. If you encounter sticky resin, it may need additional curing time or a protective coating. Understanding how to troubleshoot these issues will help you achieve professional-quality keycaps.
Conclusion: Embracing the Art of Resin Casting
Creating resin typewriter keycaps is a rewarding and creative process that combines artistry with precision. By following these step-by-step guidelines, you can produce stunning keycaps that enhance the aesthetic of any keyboard. Whether you’re a seasoned crafter or a beginner, resin casting offers endless possibilities for customization and self-expression. Embrace the process, experiment with new techniques, and enjoy the satisfaction of crafting something truly unique.